
When I was a little girl, I had a dollhouse and a bear family lived in it. Mama Bear always had a basket next to her chair that was filled with little tiny balls of yarn that I rolled up for her.
How nice is it to become Mama Bear?

 The Millers by RC
 Having found my patterns, I copied them into a word document so I could play around with the sizes since I was decorating a small four foot tree at home, not a giant church-sized tree. Then I printed them out on paper and cut each symbol out.
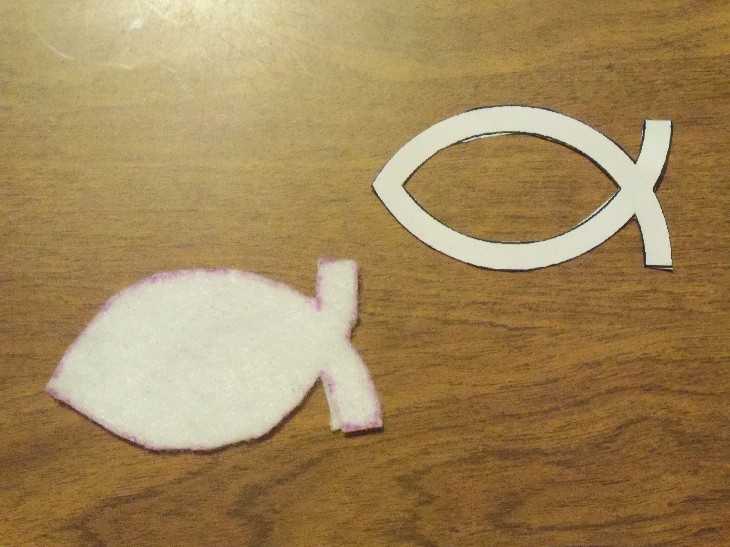 I used two pieces to make one ornament. Using embroidery thread, I stitched the details, like the "jewels" on the crown or the eye on the dove on the top piece and then sewed the two pieces together, going around the outside.
 I then used another piece of the embroidery thread to make a tie to hang the ornaments on the tree.
 Right now I only have a dozen ornaments, but I decided the tree would be more fun if I added to the ornaments each year, so I'm leaving it a little bare this year with room to grow.
 I don't really do clothes very well, but everyone says this is THE easiest baby dress to make. So I bought the pattern and some fabric.
 I actually made this green one first. With any sewing project, the first one is the one you learn the most from. The green dress taught me to do all embellishments before sewing on the facing. It doesn't show on the front at all, but inside, you can see a lot of unsightly stitches that might also rub against baby's sensitive skin.
 I also learned that this pattern does two things I really don't like. First of all, the whole reason this dress is so easy is that it can be made in two pieces... the shape of the dress x 2 sewn together right sides facing and then turned. But in the pattern, they have you cutting the sides separately, making six pieces, and adding four seams for very little reason.
 Also, I learned that I should read more carefully. I wanted a 3-6 dress for a January baby. That way it could be worn in spring into the summer. The package says that the small fits 6 month and I thought the small would be 3 month. Not a big deal, as a size 6-9 month dress would still be summer for a January baby. Only the dress I made following the pattern for a "small" was big enough to fit an average size nine month old.
 I made the flower by sewing the petals (two pieces of petal shaped fabric sewn together and turned) separately and then making a circle for the middle the same way. I then sewed them all down by going around each part of the flower with a simple stitch.
 Here is my first attempt with rick rack. I got the idea of sewing on the rick rack to the top and then sewing the facing and turning it all from one of my daughters dresses. That way the rick rack sticks out the ends and has a different kind of look than if you sewed it on the top.
 This one has the same ribbon flower as the first one, only this time I did all of the sewing (including sewing the tops of each loop down to keep the flower from "wilting" before attaching the facing).
 I did buy the bloomers at a boutique, but they go with all three dresses and it was so much easier to buy the bloomers than learn how to sew them. The headband and fancy flower are both from Hobby Lobby. The flower was $3.99 but the headband was only 99 cents, so still significantly cheaper than buying the same sort of thing from a specialty shop and the flower is just a clip, so you can change out the clip on the same headband or move the clip to another headband.
 I was happy with the quilt because as a baby gift, it was particularly rife with meaning. The dotted fabric came from my mother's 1980's collection of baby fabrics and I used some of it on a blanket for my son. The pink gingham comes from my husband's grandmother's collection of fabrics. The butterfly fabric was used on a dress for my daughter. The pink with the brown dots was used on an apron for my sister. And the white cotton is from a receiving blanket I had for both of my children. The other fabrics were bought for this blanket, but so many of them were ones I already had and had used in some really special ways.
 There. Now I should be done.
 I think it's cute as is, but it was even cuter on top of the matching blanket.
 There. Now I should be done. Right?
 I "measured" the fabric by putting the nap mat on top of it and cutting around, leaving enough for the seam allowances and the thickness of the mat, with extra room at the top so that the cover could stay on the mat when it's folded up without slipping off.
 I then took the two pieces and hemmed the top, sewing the velcro on the folded over edges.
 I can't say this makes nap time fun, but it can't hurt.
 The first one went so well that I did the exact same thing for my son, just in more boyish colors.


